Long exposure photography brings out motion in still scenes, transforming landscapes, cityscapes, and night skies into striking, dream-like images. If you’re new to long exposure or looking to elevate your shots, this guide will walk you through essential techniques, tips, and the gear you’ll need to capture unforgettable moments.
Why Long Exposure? Capturing Motion and Drama
Long exposure photography is about creating dramatic effects by capturing motion over time. From the soft flow of waterfalls to the mesmerizing trails of car lights or stars, long exposure adds a new perspective to your photography. With the right equipment and a few simple tips, you can master this technique and reveal motion that’s otherwise invisible to the naked eye.
Essential Equipment for Long Exposure Photography
Getting the best long exposure shots means setting yourself up with the right gear. Here’s what you’ll need:
Tripod
Stability is everything for long exposure shots. A sturdy tripod keeps your camera rock steady, even on uneven surfaces.
Remote Shutter Release
Touching your camera can cause shake, which blurs your shot. A remote shutter release (wired or wireless) helps keep your camera still. Smartphone apps can also work with compatible cameras, offering an easy wireless trigger option.
ND Filters
Neutral Density (ND) filters limit light intake, allowing you to keep the shutter open longer—even in daylight. ND filters come in varying strengths, known as stops, with each stop reducing light by half. For example, a 10-stop ND filter significantly reduces light and is perfect for bright daylight conditions, allowing for much longer exposure times.
Camera Harness or Strap
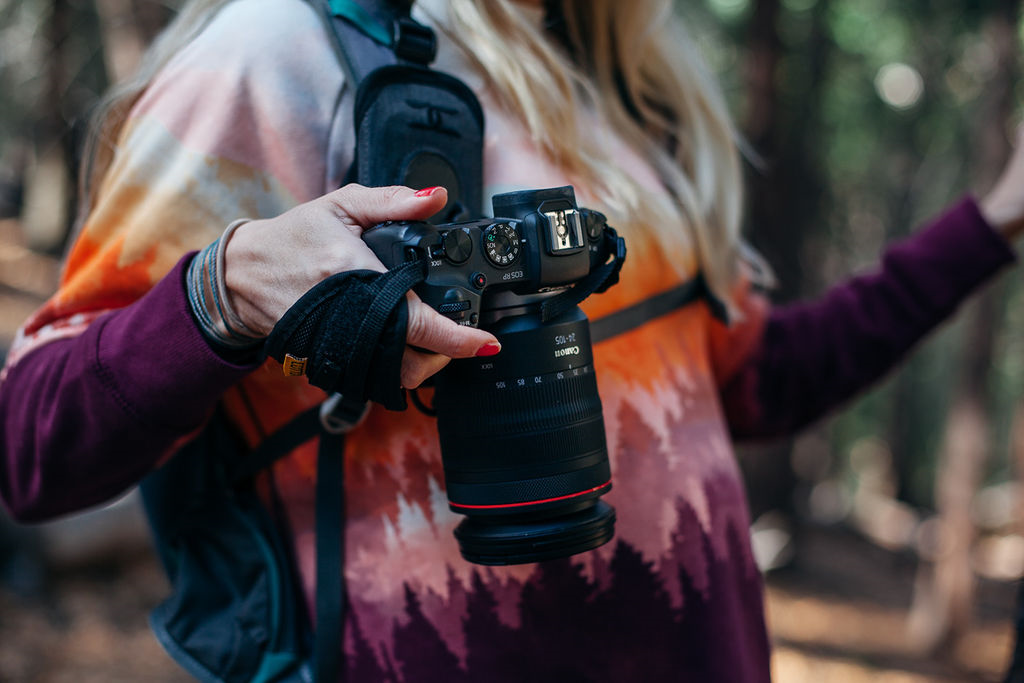
Moving between locations or shifting to handheld shots? Our Cotton Carrier harnesses and straps keep your camera secure and accessible, giving you flexibility and stability in any setting.
Pro Tip: Use Cotton Carrier’s Camera Harness
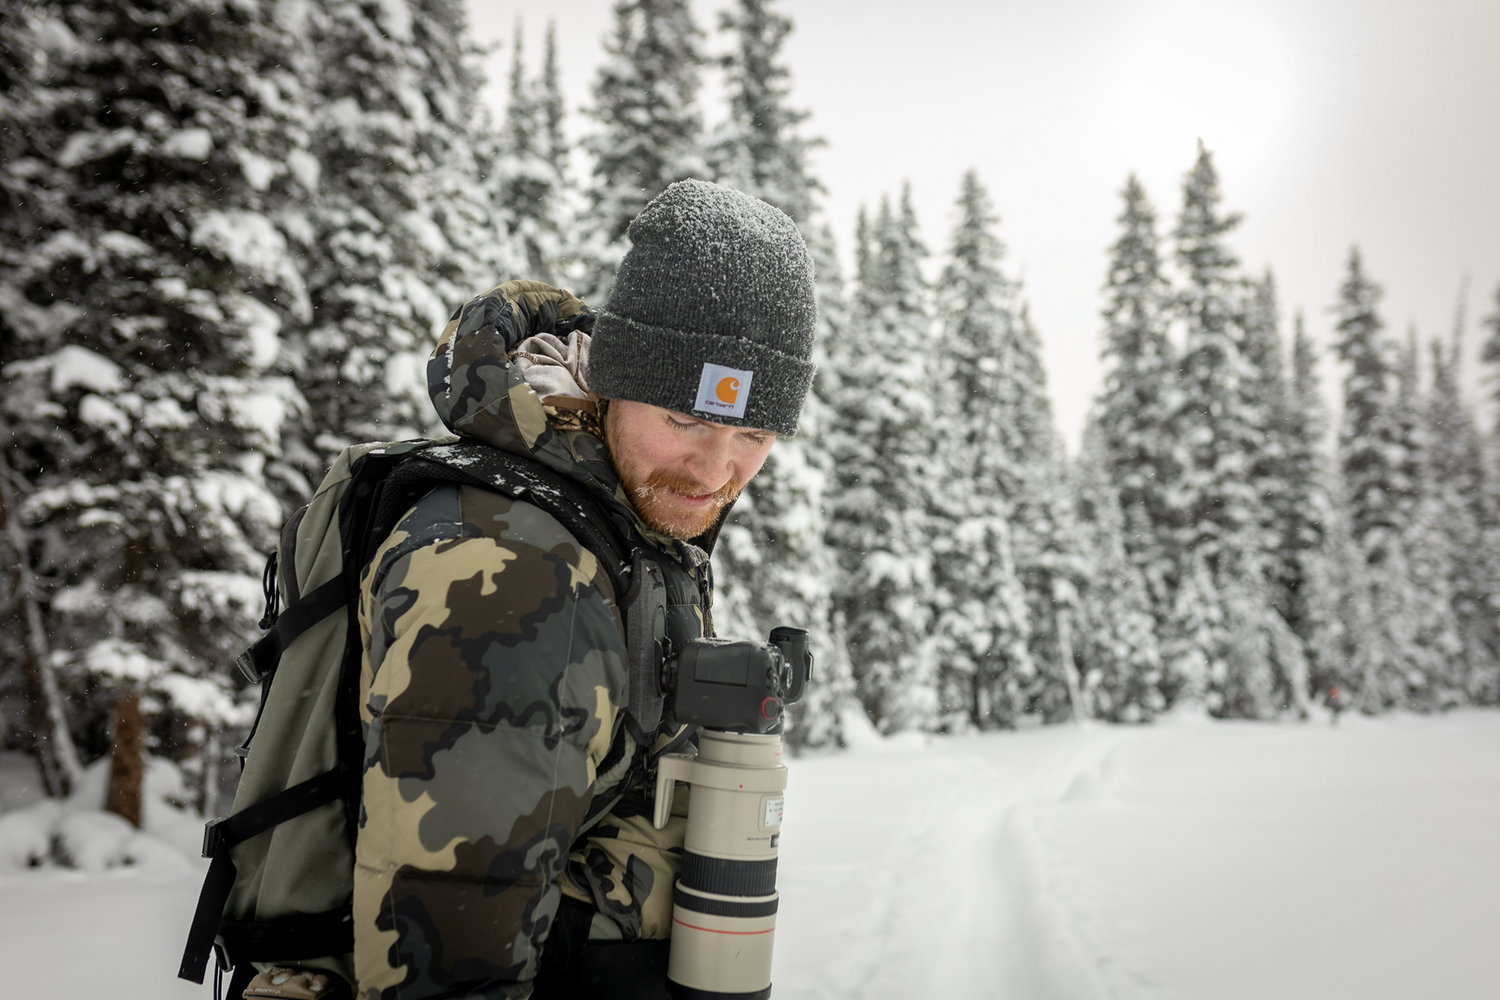
With long exposure, you’re often carrying and adjusting gear in rugged environments. A camera harness keeps your camera readily available while evenly distributing weight, which reduces strain and allows for quick access, so you’re always ready to capture the shot without fussing over your gear.
Step-by-Step Guide to Long Exposure Photography
1. Find the Right Scene and Lighting
Choosing the right location is the first step. Here’s what to keep in mind:
- Golden Hour and Blue Hour: Just before sunset or after sunrise, the light is soft and diffused, which is ideal for balanced exposures.
- Nighttime Photography: Capturing city lights, light trails, or star trails can add depth and color. Long exposures at night work beautifully to highlight these features.
Pro Tip: Bring along a comfortable sling or strap to make location scouting easy and keep your hands free as you find the perfect spot.
2. Set Up Your Camera for Long Exposure
Long exposure photography works best when you take control of your camera’s settings in Manual mode:
Shutter Speed
Slow shutter speeds (anywhere from a few seconds to several minutes) capture motion and allow more light in. Shutter speed is key to capturing the right amount of motion in your photo.
- 1-2 seconds: Ideal for capturing slight movement in flowing water.
- 10-30 seconds: Perfect for smoothing water or capturing light trails from passing cars.
- Minutes or longer: Used for star trails or other low-light conditions like astrophotography.
Tip: Experiment with different shutter speeds to find the perfect balance of movement and clarity.
Aperture
Start with a narrow aperture (f/8 to f/16) to ensure a sharp image, especially in landscapes.
ISO
To reduce noise in your long exposure shots, set your ISO to the lowest possible value, typically ISO 100 or 200. However, in very low-light conditions like night photography, using a moderate ISO (400-800) can help you achieve the right brightness without overly increasing exposure time. Higher ISO settings can introduce digital noise, so use with care.
Tip: Increase exposure time instead of ISO to brighten the image in low-light settings when possible.
3. Lock in Your Focus
In low light, auto-focus can be unreliable. Switch to manual focus, zoom in on an object or area in the frame, and adjust until sharp. This ensures that important parts of your shot remain in crisp detail, even with longer exposures.
4. Use a Remote Shutter Release or Self-Timer
Pressing the shutter button can cause slight vibrations that result in a blurry image. To prevent this, use a remote shutter release. If you don’t have one, you can set your camera’s self-timer to delay the shot by 2-5 seconds, giving the camera time to stabilize before the exposure starts.
Tip: Some cameras can be controlled via a smartphone app, allowing you to trigger the shutter wirelessly.
5. Use Bulb Mode for Longer Exposures
Most cameras have a maximum shutter speed of 30 seconds. For exposures longer than this, switch to bulb mode, which keeps the shutter open as long as the shutter button is pressed.
Tip: Pair bulb mode with a remote shutter release that allows you to lock the shutter open, so you don’t have to hold it down manually.
6. Use Neutral Density (ND) Filters in Bright Light
When shooting in bright daylight, even short exposure times can lead to overexposed images. A neutral density (ND) filter reduces the amount of light entering the lens, allowing for longer exposures without overexposing the image.
Tip: ND filters come in varying strengths, measured in "stops," which tell you how much light they block. For example, a 10-stop ND filter is perfect for bright conditions.
7. Compose Your Shot Carefully
Long exposure photography often involves both moving and stationary elements. Before taking the shot, consider your composition and how these elements will interact. For example, flowing water contrasts beautifully with static rocks or buildings.
Tip: Use the rule of thirds or leading lines to create a well-balanced, dynamic composition.
8. Manually Focus for Sharpness
Autofocus may struggle in low-light conditions or when shooting long exposures. Switch to manual focus and use live view to zoom in on a bright area, like a streetlight or star, to ensure your focus is sharp.
Tip: Once focus is set, switch your camera or lens to manual focus to prevent accidental refocusing.
9. Shoot in RAW Format
Shooting in RAW format gives you the most flexibility during post-processing. RAW files contain far more image data than JPEGs, making it easier to adjust exposure, color balance, and recover details from shadows and highlights.
Tip: Make sure you have enough memory, as RAW files are significantly larger than JPEGs.
10. Watch for Hot Pixels and Noise
Long exposures, particularly at night, can introduce hot pixels (bright, colored dots) and digital noise into your photos. To minimize these, enable long exposure noise reduction on your camera, which captures a second "dark" frame to subtract hot pixels.
Tip: In post-processing, use noise reduction tools in software like Lightroom or Photoshop to clean up any remaining noise or hot pixels.
Long Exposure Techniques
Long exposure captures movement beautifully, creating soft, sweeping effects that add drama to your shots. Consider these ideas:
Water
Long exposure photography can transform fast-moving water into a silky, glass-like surface. By keeping the shutter open for several seconds, you capture the continuous flow of the water, blurring it to create a soft, ethereal effect that contrasts beautifully with solid, unmoving elements like rocks and trees. This technique is especially effective for capturing waterfalls, rivers, or ocean waves, where the difference between movement and stillness is emphasized, resulting in a serene, dream-like image.
Clouds
With a slow shutter speed, long exposure captures the gentle motion of clouds drifting across the sky, creating soft, streaky effects. This technique is ideal for scenes where the clouds are moving slowly and steadily, especially during dawn or dusk. The dreamy movement of clouds in a long exposure shot can add depth and drama to your landscape photography, enhancing the composition and making the scene look more dynamic and otherworldly. Experiment with exposure times to achieve different effects, from subtle motion blur to dramatic, sweeping cloud trails.
Traffic Lights
In urban settings, long exposure is a powerful way to capture the movement of car lights through city streets. As vehicles pass by, their headlights and taillights leave behind colorful streaks of light, showing the flow of traffic and the energy of city life. This effect is especially striking at night when the contrast between dark streets and bright light trails creates an exciting, dynamic atmosphere. Whether capturing the hustle and bustle of a busy intersection or the winding lights of a highway, traffic light trails can add a sense of speed and vibrancy to your photography.
Stars
Capturing star trails with long exposure photography allows you to showcase the Earth’s rotation in a single frame, creating mesmerizing arcs of light across the night sky. By setting the exposure for several minutes or even hours, you can record the movement of stars as they shift position, producing circular patterns around the North or South celestial poles. Star trails add a sense of scale and wonder to your images, revealing the natural rotation of our planet and creating a captivating celestial landscape. For best results, find a location away from city lights and use a stable tripod to capture these stunning effects with clarity.
With long exposure, you’re often moving between shots in dynamic settings. Our hands-free camera harness lets you adjust easily, keeping your camera safe and accessible as you move.
Post-Processing Tips to Perfect Your Shot
Even with a perfect shot, a bit of post-processing can bring out the best in your long exposure images. Use software like Adobe Lightroom or Photoshop to:
- Reduce Noise: Long exposures can introduce noise, so use noise reduction tools, specifically "luminance noise reduction," to clean up your image.
- Adjust Highlights and Shadows: Long exposures may need some contrast adjustment to bring out details in both light and dark areas.
- Sharpen Key Elements: Sharpening static elements in your image, like rocks or buildings, creates contrast with softer, moving elements.
Best Gear for Long Exposure Photography
Whether you’re climbing trails, wading through streams, or standing by a busy roadside, long exposure photography often puts you in challenging environments. Cotton Carrier’s camera harnesses, slings, and straps are designed to make it easy for photographers to carry their cameras hands-free, securely, and comfortably. With options to distribute weight evenly and keep your camera at the ready, you’ll spend more time capturing the shot and less time adjusting your gear.
Gear Up for Your Next Long Exposure Adventure
Ready to try your hand at long exposure photography? Explore our range of camera harnesses, straps, and accessories designed with photographers in mind. Every piece of Cotton Carrier gear is built for durability, comfort, and ease, so you can focus on getting that perfect shot.
Long exposure photography offers endless creative possibilities, whether you’re capturing silky smooth water, starry skies, or light trails. By mastering the basics like using the right shutter speed, employing ND filters in bright conditions, and ensuring stability with a tripod, you’ll be well on your way to capturing stunning long exposure shots.


