For photography enthusiasts, traveling with a camera is more than just capturing beautiful landscapes and memorable moments—it’s about telling a story through your lens. Whether you’re embarking on a weekend getaway or a month-long international journey, having your camera gear with you means you’re ready to capture every stunning sunrise, charming street scene, and hidden gem that comes your way.
However, traveling with a camera can be challenging. From keeping your equipment safe and organized to knowing which gear to pack, planning ahead can make all the difference between a stress-free photography trip and one filled with frustration. In this comprehensive guide, we’ll share expert tips on how to travel with your camera so you can focus on getting those perfect shots without worrying about your gear.
1. Choose the Right Gear for Your Trip
One of the first steps in preparing for a photography trip is deciding what camera gear to bring. While it’s tempting to pack all your lenses and accessories, carrying too much equipment can be cumbersome and impractical. Instead, consider the type of photography you’ll be doing and pack gear that suits the destination and your photography goals.
Tips for Choosing the Right Gear:
- Assess Your Photography Style: If you’re focused on landscapes, bring a wide-angle lens. For wildlife, a telephoto lens is essential. Street photographers might prefer a compact prime lens.
- Consider Weight and Space: If you’re traveling light, opt for a mirrorless camera instead of a bulky DSLR. Choose versatile lenses like a 24-70mm that can handle a variety of scenarios.
- Avoid Overpacking: Select a maximum of two or three lenses to cover your needs. Remember that a lighter load makes for a more comfortable and enjoyable trip.
Pro Tip: If you’re traveling internationally or to remote locations, consider packing a backup camera body or a small, durable point-and-shoot camera in case your primary gear malfunctions or is lost.
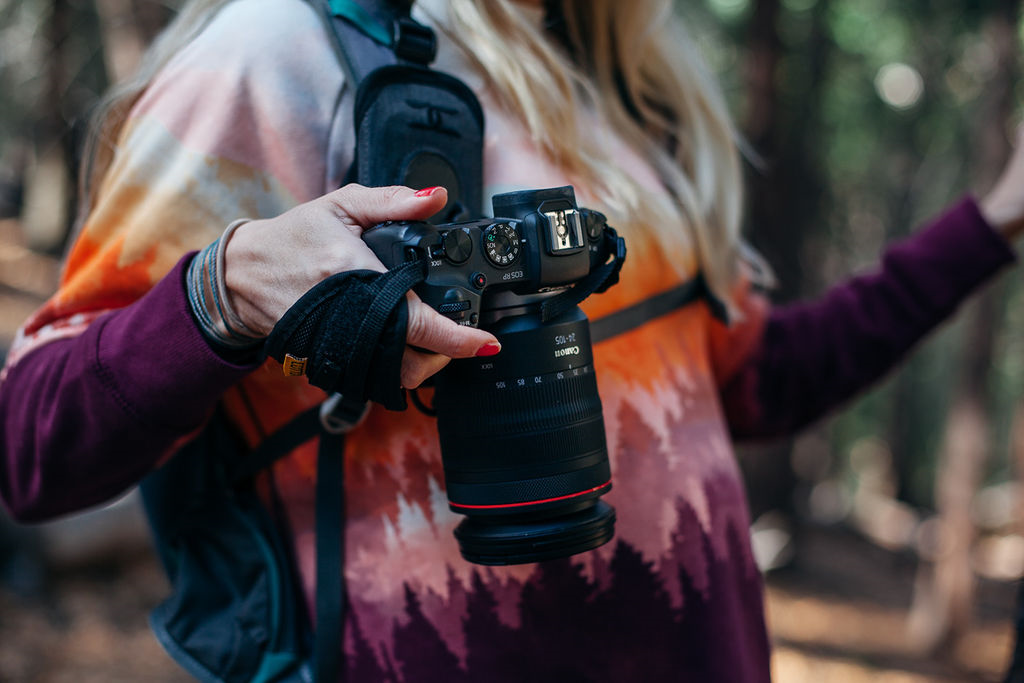
2. Invest in a High-Quality Camera Bag
A high-quality camera bag is one of the most important investments you can make for traveling with your camera. It protects your gear from damage, theft, and the elements while keeping everything organized and accessible. Choose a bag that’s comfortable to wear for extended periods and offers quick access to your camera and lenses.
Key Features to Look For:
- Padded Compartments: Ensure your camera bag has padded dividers to protect your camera, lenses, and accessories.
- Weather Resistance: A water-resistant or weatherproof bag will protect your gear from rain, snow, and dust.
- Accessibility: Look for a bag with easy access points so you can quickly grab your camera without having to unpack everything.
- Comfort and Fit: Choose a bag with adjustable straps, chest and waist support, and good back padding to distribute weight evenly.
Pro Tip: For city travel or crowded areas, consider using a camera sling bag or backpack that doesn’t look like a traditional camera bag to avoid drawing attention to your expensive gear.
3. Protect Your Gear During Transit
Traveling can be tough on your camera equipment, whether you’re navigating airports, bus terminals, or rough terrain. Take extra precautions to protect your gear during transit to ensure it arrives safely at your destination.
Tips for Protecting Your Gear:
- Carry-On or Checked Luggage: Always carry your camera gear in your carry-on luggage when flying. Baggage handlers may not handle checked luggage gently, and you risk damage or theft if you check expensive equipment.
- Use Padded Inserts: Place padded inserts or cases inside your carry-on bag to keep your camera and lenses secure. For additional protection, consider wrapping delicate items in clothing or using lens wraps.
- Lock Your Bag: Use a TSA-approved lock on your camera bag to keep it secure while going through airports or during transit.
- Label Your Gear: Add labels or business cards with your contact information inside your bag in case it gets lost or misplaced.
Pro Tip: If you have to bring a tripod or other large equipment, use a sturdy, padded tripod bag and consider checking it separately if necessary.
4. Store and Backup Your Photos Safely
Nothing is worse than losing all your photos because of a damaged memory card or a misplaced camera. Storing and backing up your images safely is crucial when traveling with a camera.
Backup Strategies:
- Bring Extra Memory Cards: Always have a few spare memory cards on hand in case one gets full or corrupted. Consider using smaller capacity cards (e.g., 32GB or 64GB) instead of one large card, so you don’t lose all your photos if a card fails.
- Use an External Hard Drive or SSD: Transfer your photos to an external hard drive or SSD at the end of each day to create a backup. Choose a durable, portable drive with ample storage space.
- Cloud Backup: For additional safety, upload your images to a cloud service like Google Drive, Dropbox, or iCloud whenever you have a reliable internet connection. This way, you’ll have a copy of your photos even if your equipment is lost or stolen.
Pro Tip: Organize your photos into folders by date or location to make them easier to access and sort when you return home.
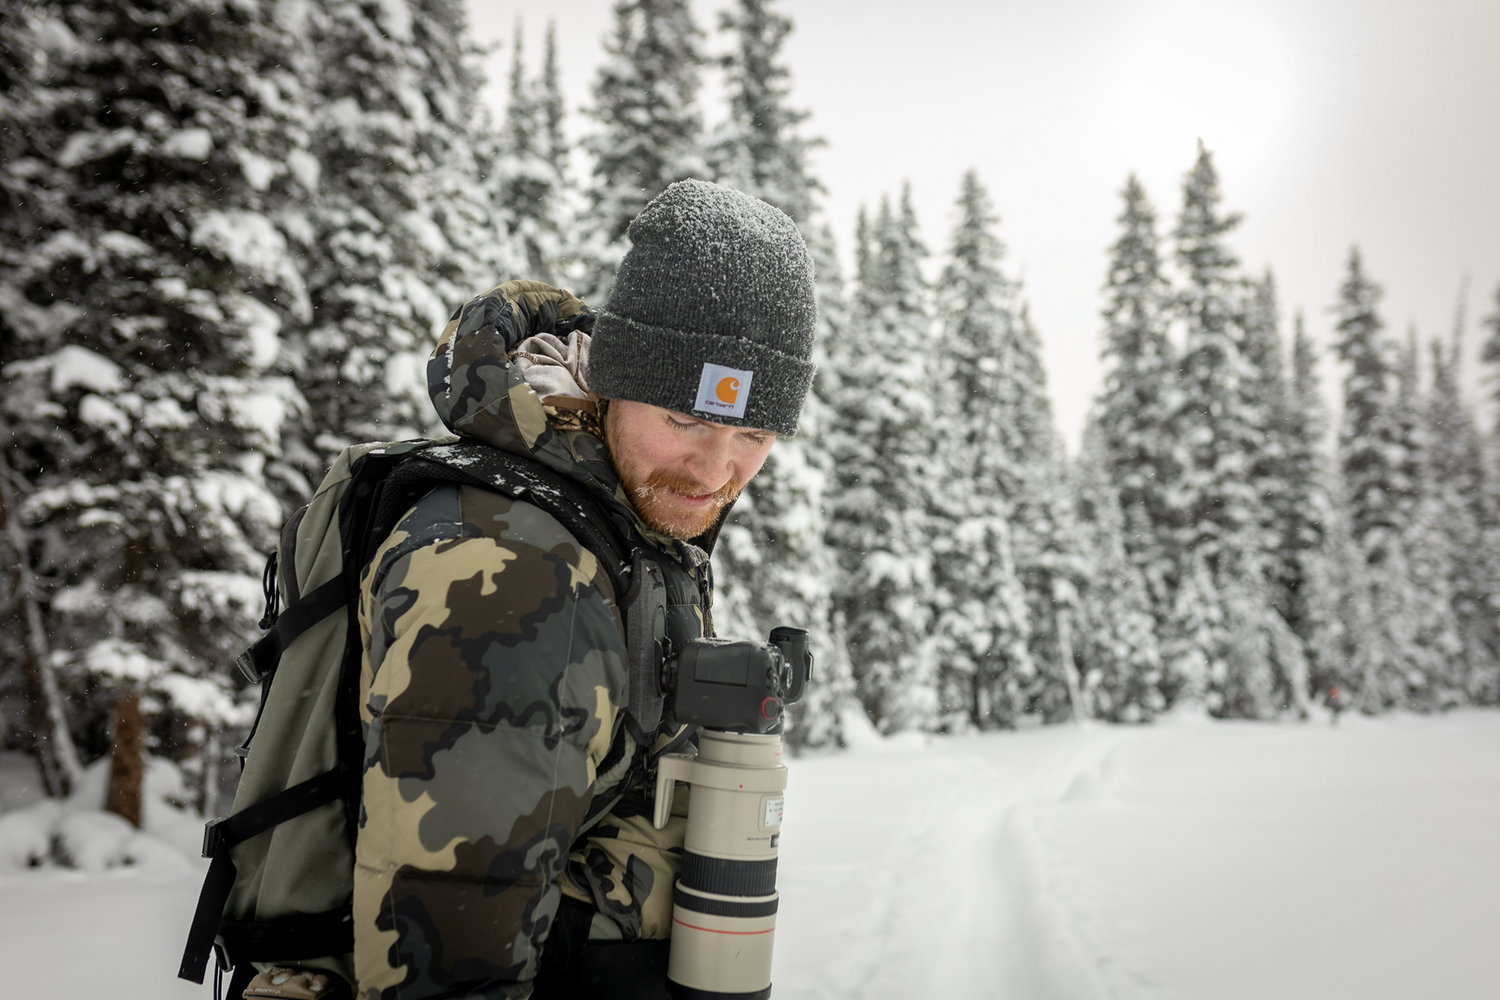
5. Plan for Different Lighting and Weather Conditions
Being prepared for varying lighting and weather conditions is essential for any photographer. Consider the weather and lighting at your destination when packing your gear and planning your shoots.
Tips for Different Lighting and Weather:
- Low Light Conditions: Bring a fast lens (with a wide aperture like f/1.8 or f/2.8) for shooting in low light, as well as a tripod for stable long-exposure shots.
- Bright Sunlight: Pack a lens hood and neutral density (ND) filters to control exposure in bright conditions. Polarizing filters are also great for reducing glare and enhancing colors.
- Rain or Snow: Use a rain cover for your camera and lens to protect against moisture. Pack microfiber cloths to wipe away raindrops or snowflakes, and always have a weather-sealed camera bag.
- Humidity and Dust: Keep silica gel packets in your camera bag to absorb moisture in humid climates, and bring an air blower and lens cleaning kit for dusty environments.
Pro Tip: Check the local weather forecast before heading out and plan your shoots accordingly. Sunrise and sunset are ideal times for capturing soft, warm lighting.
6. Keep Your Camera Ready for Quick Shots
One of the biggest challenges when traveling is being ready to capture fleeting moments. Whether it’s a street performer, wildlife encounter, or a beautiful play of light on a building, moments can disappear in an instant. Having your camera ready for quick shots ensures you never miss a great photo opportunity.
Tips for Staying Ready:
- Use a Camera Strap: Keep your camera on a comfortable shoulder or wrist strap so it’s always within reach.
- Preset Your Camera Settings: Before heading out, set your camera to a general setting like aperture priority or shutter priority with auto ISO, so you can quickly adjust for different situations.
- Keep Your Camera On: If you’re walking through an area with lots of potential photo opportunities, keep your camera turned on and lens cap off for quick shots.
Pro Tip: Use a small, lightweight camera or compact camera for street or candid photography, so you can blend in more easily and capture authentic moments without drawing too much attention.
7. Research Your Destination and Plan Ahead
Knowing what to expect at your destination can help you plan your photography and ensure you’re in the right place at the right time. Researching locations, rules, and local customs will help you avoid surprises and make the most of your trip.
Things to Consider:
- Check Photography Rules: Some places, like museums, historic sites, and sacred locations, have restrictions on photography. Know the rules before you go to avoid fines or having to delete photos.
- Scout Locations: Use resources like Google Maps, Instagram, and photography forums to scout locations and identify the best spots for shooting.
- Plan Your Itinerary: Plan your itinerary around the best times for photography, such as sunrise and sunset. Allocate time for exploring and spontaneous shots as well.
Pro Tip: Talk to locals or join photography tours at your destination for insider tips and lesser-known photo spots.
Traveling with a camera allows you to capture the essence of new places, people, and experiences. With careful planning and the right gear, you can focus on your photography without worrying about your equipment. Remember to travel light, protect your gear, and back up your photos regularly to ensure a successful and enjoyable photography adventure.